Showing posts with label Recipes: Meat. Show all posts

Monday, May 3, 2010

How To Pressure Can Soup, Meatballs, and Beans

(for a video demonstration using a weighted-gauge canner AND a dial-gauge canner, see this post: How To Pressure Can Beans)

I had a busy day a few weeks ago. Someone gifted me a pressure canner and we borrowed another one - so we were really cookin'! I made vegetable beef soup, seasoned black beans, white beans, and meat balls. Everything turned out really nice; I am so thankful. I gave quite a few directions in my last post about pressure canning titled "Pressure Canning Homemade Vegetable Beef Soup", so I will not repeat myself here.

Seasoned Black Beans to pressure can: Into each quart jar = 2T dried onion flakes, 1t dried garlic, 1t salt, a few dried avocado leaves. Fill with 1 1/4c dry, washed black beans. Top with cold water, pressure can for 90 minutes at 11lbs (adjust for altitude). Let the canner cool ALL THE WAY to zero before you open it. Not only does this prevent a horrible accident, it also keeps the lids from leaking and not sealing properly. Place your jars on towels and let them cool over night. We like to have these beans over rice. A sister here at the church told me about using avocado leaves in the beans - we like this a lot. Just remove the leaves before you eat the beans :)
If you do not have avocado leaves available, use oregano instead. It is not the same flavor, but it still tastes good.
Use any bean and flavoring you prefer and 1t of salt; here are a few more ideas: Kidney beans with chili-type seasonings, lentils with italian seasonings, garbanzo beans with humus-type seasonings, lentils with indian-type seasoning to mimic dal, pinto beans with taco seasonings, or whatever. Have fun experimenting ... I am actually hoping to make up a little cookbook with some of these recipes in it. We'll see how long that takes me. haha.


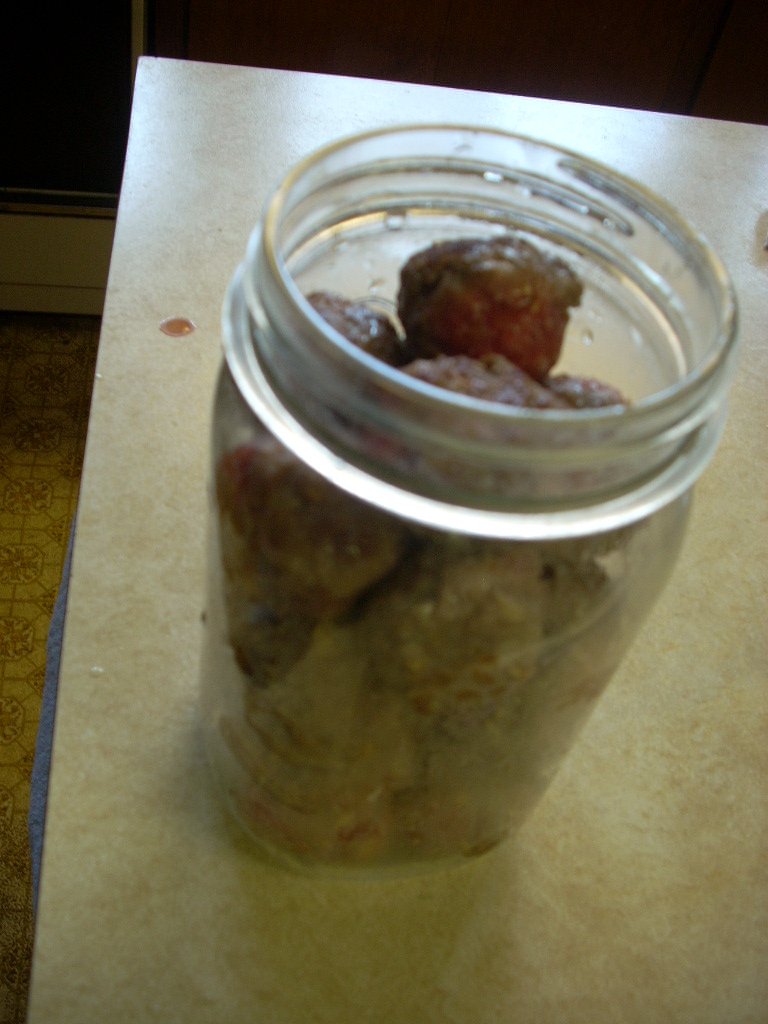
We have a LOT of free meat. I asked a friend if she had any ideas on what I could do with some of it, and she suggested making meat balls (thank you Rachel!). They turned out so yummy. We used the recipe she gave us, but added a few things to it; any basic meat ball recipe will do. Mix up your meat, form into balls, brown slightly on all sides, put into jars, and pressure can for 90 minutes at 11lbs pressure. Tylor did most of the work for the meat balls ... I am very thankful for that. We liked them so much we plan to do some more soon. We've been eating them with spaghetti, and also with cabbage, rice and potatoes.
Update ... we butchered another cow and got a lot more free meat. We mixed up about 40lbs of meat ball mix and the huge pile of meat overwhelmed me!! I knew we were going to be standing there all day making little balls of meat. So to save A LOT of time, we just shoved meat into each jar and canned them like that ... sort of like meat loaf in a jar. It worked just fine.

In the pictures below you will see us browning the balls ... you can skip this step and still have great results; just don't pack the balls in so tight.


Here's a picture of the vegetable beef soup; this is so nice to have on hand for lunches on the go ... just pack a few plastic cups and spoons and we're all set. It tastes all right cold, but better hot. I make it stretch by adding rice or pasta.

And the white beans. We like to use these as a base for country gravy - just dump the whole thing into the blender and add some seasonings ... and there you have your white gravy. Simple. Yummy. Cheap. Nutritious. Serve over biscuits or pasta.

Monday, February 15, 2010

Pressure Canning Homemade Vegetable Beef Soup

(for a video demonstration on using a dial-gauge pressure canner OR a weighted-gauge pressure canner, see this post: How To Pressure Can Beans)
 
Today I am canning homemade vegetable beef soup. I actually remembered to take pictures!! I used to be afraid of pressure canning ... I really don't know why though. Now that I've done it several times, I feel like a 'pro' (although I know I'm not!!). Here is what I do:

Before you start, have all the veggies chopped and ready to go. If you are making a large batch of soup, sometimes it's nice to have all of the prep work done the day before.

First saute the onions - I used one medium onion. Add garlic cloves (5) just before finished.


Next cook the ground beef. I used 2 pounds.


Add the onions, beef and other ingredients into a very large stock pot. I put in 3 quarts of diced tomatoes, frozen vegetables (1lb each of corn and peas, 2lbs of green beans ... if I have garden fresh stuff I use that instead), 4qts of diced potatoes, 2lbs (~6c) sliced carrots, 8c cooked beans (I used chickpeas this time; the children really like these), water/stock and seasonings to suite your taste. I like to add beef stock, paprika, braggs or soy sauce, and water to cover.


As you can see, this is a larger pot - I think it will hold about 20 quarts, but I'm not exactly sure. When full, it is much too heavy for my electric stove so I use the gas stove at the church.


Cover and let it get warm; I bring it to a soft boil and then turn it down low - it will cook plenty in the canner. Get the jars and lids ready. I fill the pressure canner with about 3qts of hot water. Then I add clean quart jars - my canner only fits 5 of the 'golden harvest' jars, so that is why you only see 5 jars here. I can fit 7 if I only use 2 golden harvest and then other brands for the rest; the gh jars are fatter for some reason ... so I stopped buying them. Cover with the canner lid; do not tighten. Let it boil while you get the rest of the stuff ready. This is my way of 'sterilizing' the jars; for a sure method, you can have another large stock pot with boiling water for your jars.

Update ... I normally do not sterilize jars nor do I heat the soup before cooking. I have had no troubles with cold packing the soup into the jars, HOWEVER I am pretty sure this is not recommended?? so don't blame me if you do it and your soup goes bad!!! :) We go through our soup pretty fast, so it's not like it's sitting around for months or years ... I don't know if that makes a difference or not, but that's the way I do it.
My current method is to chop all the veggies, cook the meat (if using), and mix them all together with some cooked beans in a very large bowl (last time I used two 5 gallon buckets and dumped the mix from bucket to bucket to 'stir' it). Mix the saucy ingredients and seasonings together in a pitcher. I found that a few large cans (~2qt size I think?) of cheap vegetable juice tastes really good in the soup, so I use this now too if I remember to get some while at the store. I pack the jars full of the veggie/meat/bean mix and then pour equal amounts of the saucy mixture into the jars. I fill whatever space is left with water.


Put your lids into a small pan, cover with hot water, bring to a boil, turn off, leave covered and let it sit for 5 minutes or so.

Next get the jars out of the canner; have jar tongs, ladle and a funnel ready. Place the jars close to the soup pot; keep the jar you are filling as close to the pot as possible - this will help keep the mess down. File each jar 1" to the top.


Put on the lids and rings. Put the jars in the canner.


Brianna took this picture ... she did a good job!


Secure the lid properly. Leave the petcock open and bring to a boil - the steam will be coming out quickly. Let it stay like this for about 10 minutes. Close the petcock, bring to 11lbs of pressure (adjust according to your altitude if needed) and maintain that level for 90 minutes. Check often to make sure the pressure is right. Adjust the flame higher or lower accordingly.


After 90 minutes, turn off the heat and let it sit there until the pressure gauge reads zero (I let it sit for about 10 minutes beyond that point). Open the petcock slowly at first ... NO STEAM should be coming out. If it does, shut it again and wait longer. If you do not let it cool down in this way, the soup will spill out of the jars and you'll risk it not sealing properly because the rims will be full of soup. It might seal at first, but then days or weeks later it could come unsealed and you wont know it till you reach for the jar.

Remove the canner lid - make sure you tilt it away from so the steam does not go in your face :) Take out the jars and place them on a towel to cool. Let them sit for 24 hours or so. Check the seals ... lightly touch each lid; if it is sticking up, store that jar in your refrigerated and treat as a left over. But sometimes lids are down even when they are not sealed right ... we check for this by lightly thumping the tops of each lid with one finger. They should all pretty much have the same pitch. You will know without a doubt if one is not sealed ... the pitch will be much different.


Now you are ready to remove the rings, wash the jars, and store them on the shelf or wherever it is you put your filled jars.

If you have any questions beyond what is here, please ask!! Post a comment by clicking on the comment button below.

Also, a 'disclaimer' - I am not a professional or an expert by any stretch of the imagination. My point in posting this was to show how easy it really is to pressure can. Please follow my instructions using your own discernment ... I would not want to be the one to blame if someone got sick!! Here is a website that has a good 'how to' page - Canning Pantry. Here's the Michigan State University Extension page for pressure canning. Both of these sites have great advice.